


Charcoal is a fairly popular drawing material, perhaps because it doesn’t take much time to work with charcoal, or because the final drawing looks very impressive. Either way, a lot of people like to draw with this material. Even the great Michelangelo did a series of charcoal drawings.
But before you start creating your first masterpiece, you should first master certain techniques of charcoal drawing. If you read the video below and the recommendations, you will learn basic tips and tricks, so you will know where to start.
To apply these techniques in practice, you can use any charcoal that you have at your disposal. You can learn more about the different kinds of charcoal by reading paragraph 09. You can also ask a consultant in an art store to help you decide what kind of charcoal to use.
01 – Find the main idea
Think about what carries the main meaning of your drawing. This principle is important when working with any artistic material. You need to find a way to convey what the image is about, what you want to say with it. Once you’ve decided on the main idea, everything you do from that point on, every movement and every detail you include or omit, should work to reinforce that aspect of the work.
02 – Learn to combine light and shadow
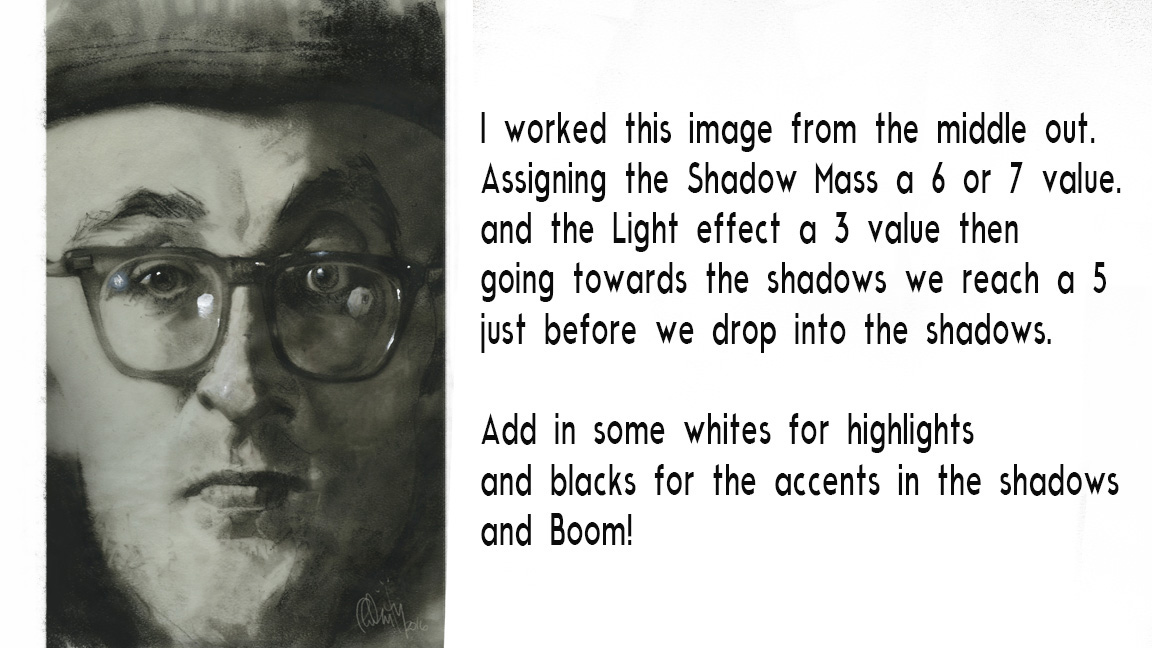
The work on this painting was carried out according to the principle of “from the inside to the borders. The artist Thomas Fluharty first marked the shadows using a color saturation of 6 or 7. Then he applied light effects using a tone with a saturation of 3, and applied a saturation of 5 for a smooth transition into the shadows, before adding light and dark accents
The word “saturation” is often found in art, but can be confusing to the novice artist. “Saturation” in drawing refers to the transition from white to black (light to dark) in the range of 1 to 10. For example, 1 is white and 10 is black, so 5 is a “halftone,” an intermediate gray color between white and black. Combinations of dark and light are present in every drawing, regardless of color.
To understand how saturation works, draw the image from inside to the borders, sticking to saturation levels 6 and 7 for the darkest areas of the shadows, and choosing a value of 3 or 4 for the lightest areas and highlights. Then move on to the darker and lighter accents.
Think of dark accents and highlights as twins living next door. They are not the most important elements of your image. They give it integrity.
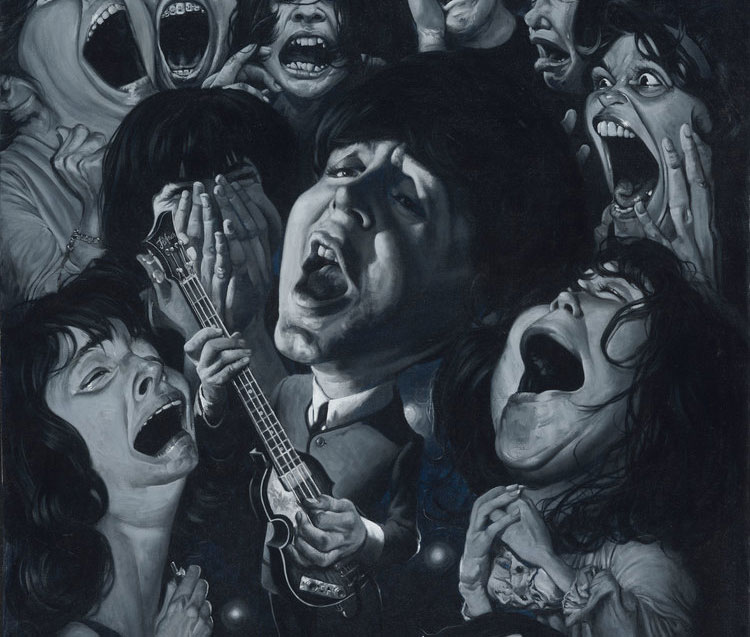
03 – Use a saturation hierarchy
It is safe to say that a drawing is considered successful if it is easily perceived by the viewer and is able to hook him emotionally. The use of lighter or darker tones can be very effective in drawing the viewer’s attention to different areas of the drawing.
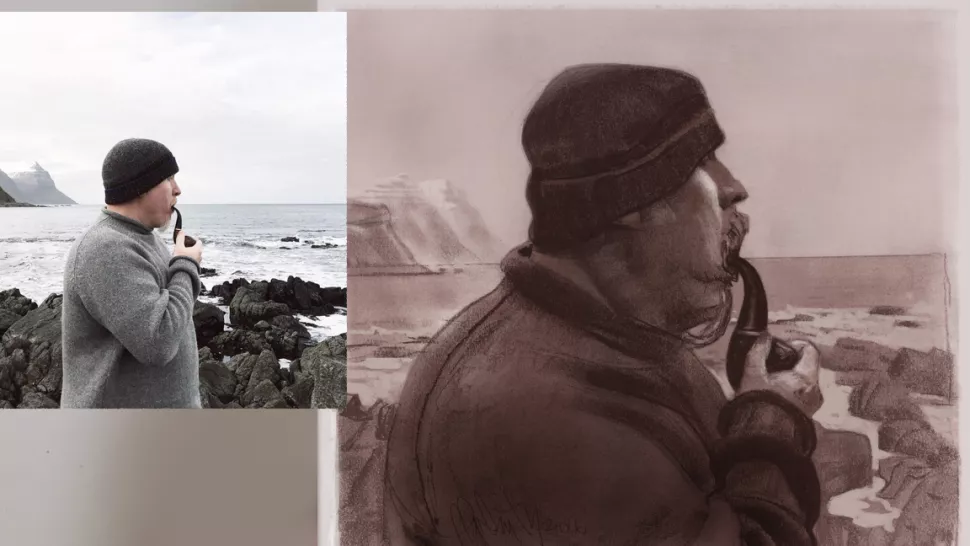
In the image above, based on a photograph by Josiah Bays, the darkest tones are concentrated on the man with the pipe. Note the light glare on his cheek and the way the darkest saturated areas are distributed over his body.
The hierarchy of saturation helps to convey to the viewer what the artist intended the viewer to see first. In this case it is the man with the smoking pipe. Everything else becomes less important. The man with the pipe is the semantic center of this image.
04 – Squint
Clear vision doesn’t always help you get the results you want. When we observe what we are drawing, our visual organs take in tons of information. If we fill the drawing with meaningless and superfluous details, nothing good will come of it. The artist’s main job is to transform and simplify.
Squint your eyes (or remove your glasses) to smooth out the tones and simplify the shapes of what you see. By capturing these shapes, you’ll find the main element of your work faster.
05 – Explore the possibilities of wide and thin lines
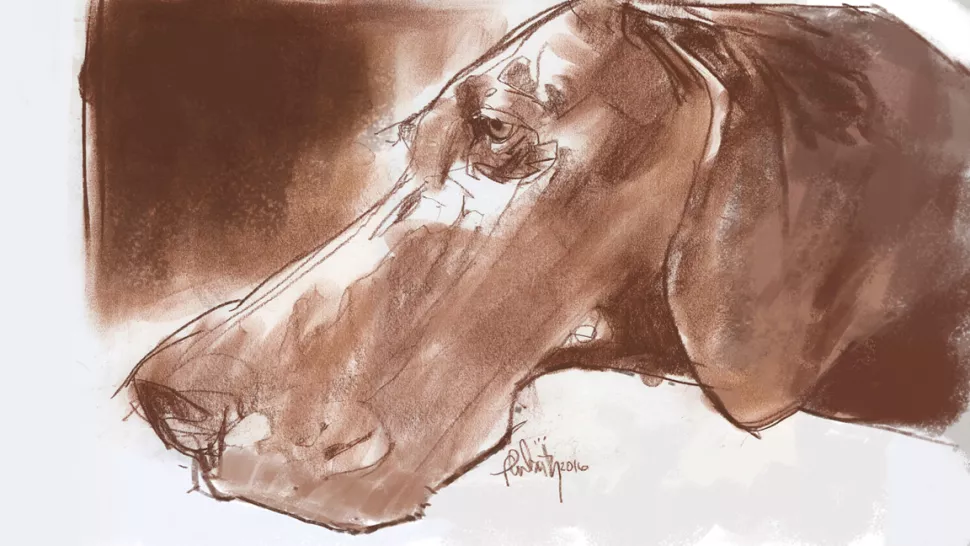
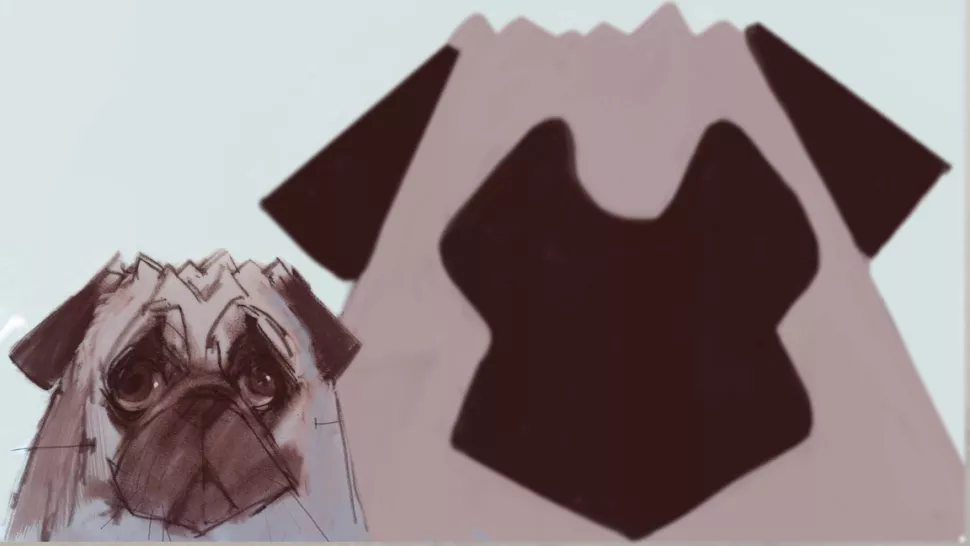
Alternating wide and thin lines is a good and interesting technique that many artists, however, forget to use. If you draw with charcoal lines of the same width or with the same pressure, the result will look like a coloring book, and it can look monotonous and boring. Thin and wide lines will make your drawing more vivid. For example, look at a picture of a dog: pay attention to the variations in the lines and the variations in their width.
So how do you use this technique, and what do you need to know? A simple and reliable rule of thumb: the lines on the surface of things are thinner because the light falls on them. The lines below can be wider because there are usually shadows below. That’s it. It’s simple, isn’t it?
06 – Use a blotter or eraser
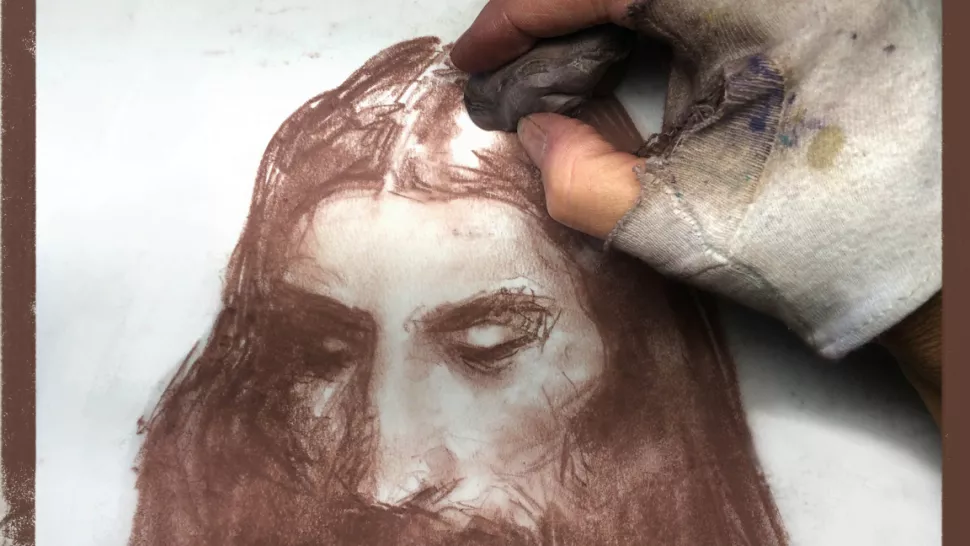
The advantage of charcoal is that it is easy to control: shading, moving it around, or bringing it out and erasing it from the canvas after it has been applied. The illustration above shows how you can use charcoal to convey the way the light scatters on a person’s head.
07 – Prepare the tools

A wide variety of working tools can be found in the arsenal of traditional artists, and those used for charcoal drawing are especially interesting: a small eraser with a round tip, a blotter that can be bent and crumpled, and an electric eraser for areas that are hard to erase.
Using charcoal or pastel suggests that you need something to distribute the material on the canvas. The first and most obvious way to do this is with your finger, which, however, may not distribute the charcoal evenly enough or be too small. The second way is with dry cotton cloths. They are great for working with large masses of charcoal.
08 – Put on the glove
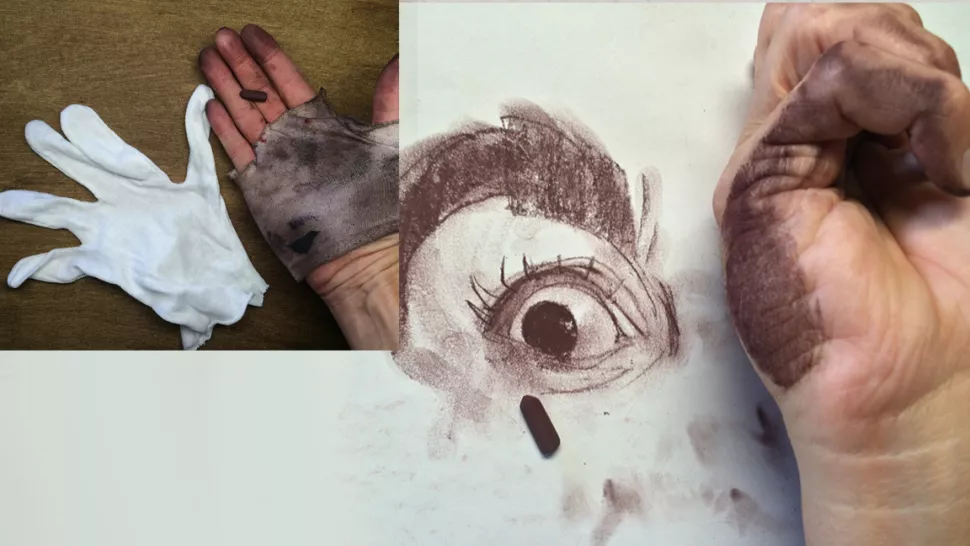
Did you know that the sweat that the skin of our hands produces can leave stains on paper, or even peel off a layer of material applied to the canvas? To avoid this problem, use a glove or put a sheet of paper under your hand to protect your work.
09 – Try drawing with charcoal pencils

Charcoal drawing charcoal comes in a wide variety of pencils, crayons, and sticks to suit all tastes and colors. Choose the materials that are right for you. The photo shows examples of what charcoal pencils can be. Keep in mind that charcoal can easily smudge, so it’s worth applying a fixative to the finished work to preserve it.
10 – Act

Remember that drawing is difficult, and sometimes the result will be frustrating. Don’t get discouraged. Creating art is extremely difficult, and it may take time for you to feel satisfied with your progress.
Learning and growth are only possible in an appropriate professional environment. Try to find a way to talk to a few artists you like. Politely ask them to evaluate your work. Ask them, “What are my weaknesses?” and “Where do I start, what should I focus on?”
All artists at some point find themselves at a creative standstill. Even the most experienced and professional artists have days full of doubts, but they are always replaced by inspiration! So don’t give up, take action and keep creating.